
Introduction: Getting Started with Fuse Beads
Fuse beads, also known as Perler beads or melty beads, are small plastic beads that can be fused together with heat to create colorful designs. This craft activity is perfect for kids and adults alike, offering endless possibilities for creativity and imagination. In this article, we will guide you through the process of working with fuse beads, from choosing the right materials to creating your own unique designs.
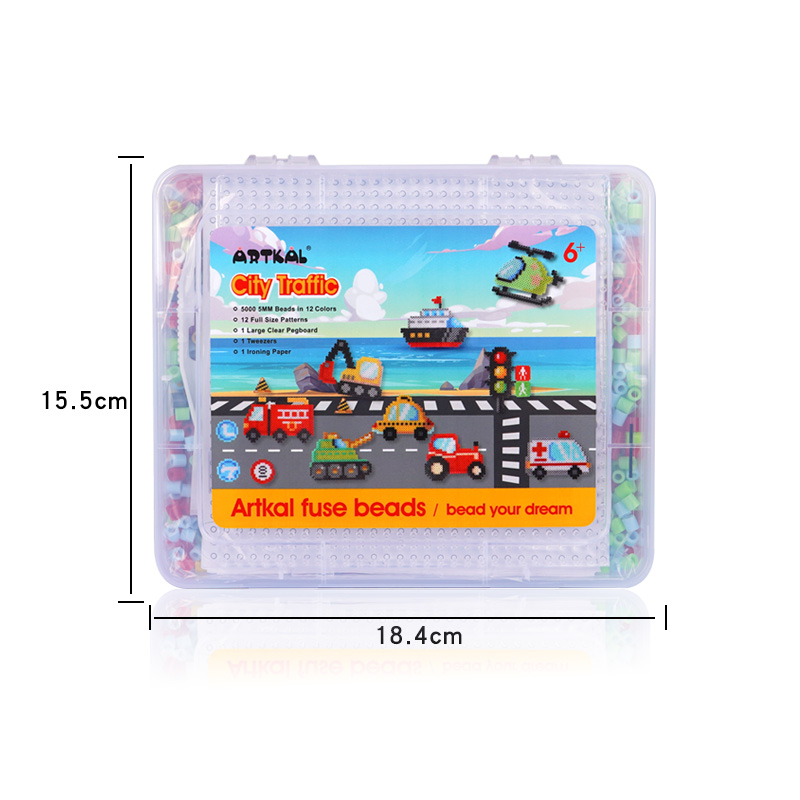
1. Gathering the Materials
Before you start making fuse bead designs, you will need to gather the necessary materials. Here's what you'll need:
- Fuse beads: These plastic beads come in a variety of colors and shapes.
- Pegboards: These boards have evenly spaced pegs that hold the beads in place.
- Parchment paper: Used to protect your iron and ironing surface.
- An iron: The heat from the iron will fuse the beads together.
- Tweezers: Optional, but helpful for precise bead placement.
- Pattern or design ideas: You can find pre-made patterns or create your own.
2. Designing Your Pattern
Before you start placing beads on the pegboards, it's a good idea to have a design or pattern in mind. You can find countless patterns online or get creative and come up with your own. You can use graph paper or software specifically designed for fuse bead patterns to plan out your design.
Here are a few tips for designing your pattern:
- Start with a simple design if you're a beginner.
- Consider the size of your pegboards and the number of beads you have.
- Experiment with different colors to create interesting and vibrant designs.
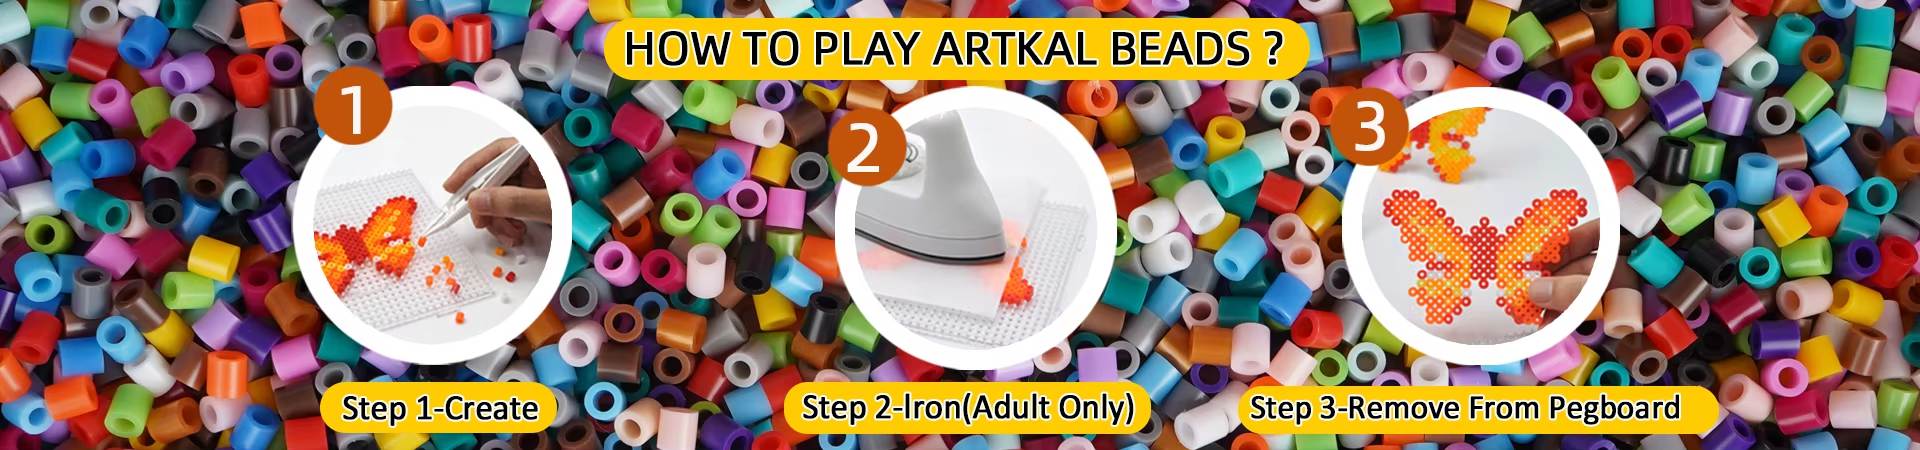
3. Placing the Beads
Once you have your pattern ready, it's time to start placing the beads on the pegboards. Here's how:
- Place the pegboard on a flat surface.
- Using your pattern as a guide, place the beads one by one on the pegs.
- Use tweezers for more precise placement, especially for smaller designs.
- Double-check your pattern to ensure accuracy.
Remember to leave some space around the edges of your design, as the beads will spread slightly when fused together.
4. Fusing the Beads
Once you've finished placing the beads on the pegboards, it's time to fuse them together using heat. Follow these steps:
- Preheat your iron to a medium setting without steam.
- Place a sheet of parchment paper over the beads to protect your iron.
- Gently iron the beads in a circular motion for about 10-20 seconds.
- Avoid applying too much pressure as it can cause the beads to warp.
- Remove the parchment paper and let the beads cool completely before removing them from the pegboards.
5. Finishing Touches
Once your design has cooled down, you can add some finishing touches to make it even more special:
- Trim any excess plastic edges using scissors.
- Add a hanging loop if you want to turn your design into a keychain or ornament.
- Display your fused bead creation in a frame or use it for decoration.
Conclusion
Fuse beads are a fantastic way to let your creativity shine. Whether you're making simple shapes or intricate designs, this craft activity is both relaxing and rewarding. Follow the steps outlined in this article, and soon you'll be creating beautiful fused bead artworks to display or gift to others. So, gather your materials, choose a pattern, and let your imagination run wild with fuse beads!