
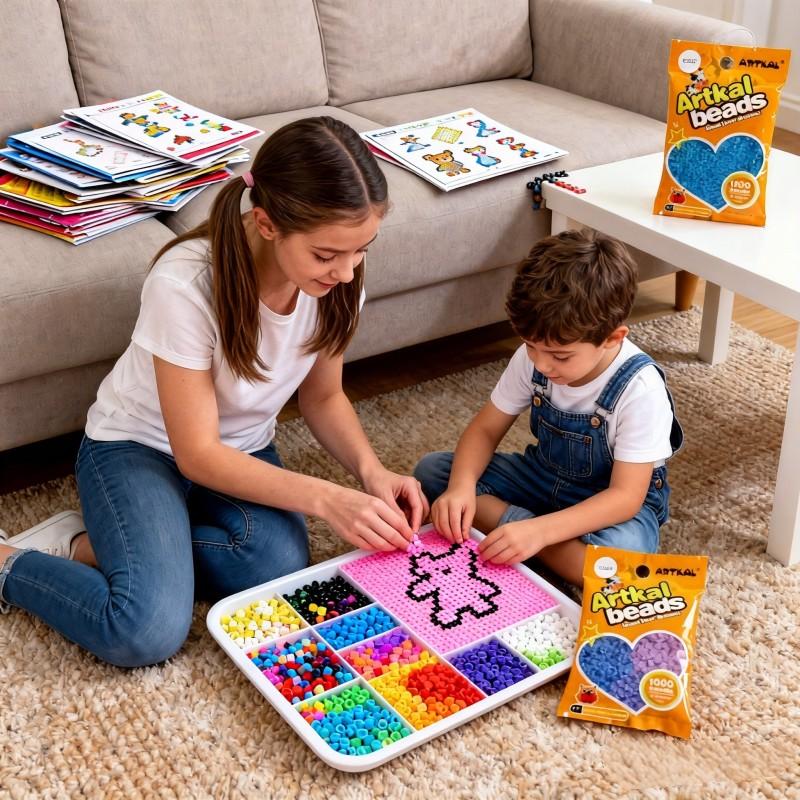
Perler beads have become a favorite medium for creative projects, from simple kids’ crafts to intricate adult designs. Melting Perler beads properly ensures that your designs hold together perfectly while maintaining vibrant colors and clean edges. Whether you are using perler beads patterns, creating projects as perler beads for adults, or sourcing high-quality beads from a trusted perler beads supplier, understanding the melting process is key. Artkal, a leading manufacturer in the bead industry, provides professional-grade Perler beads to ensure the best results for all skill levels.
In this guide, we’ll walk through the process of melting perler beads perfectly, including preparation, techniques, and tips for achieving professional-looking results.
1. Preparing Your Perler Beads
Before starting, make sure you have the following materials:
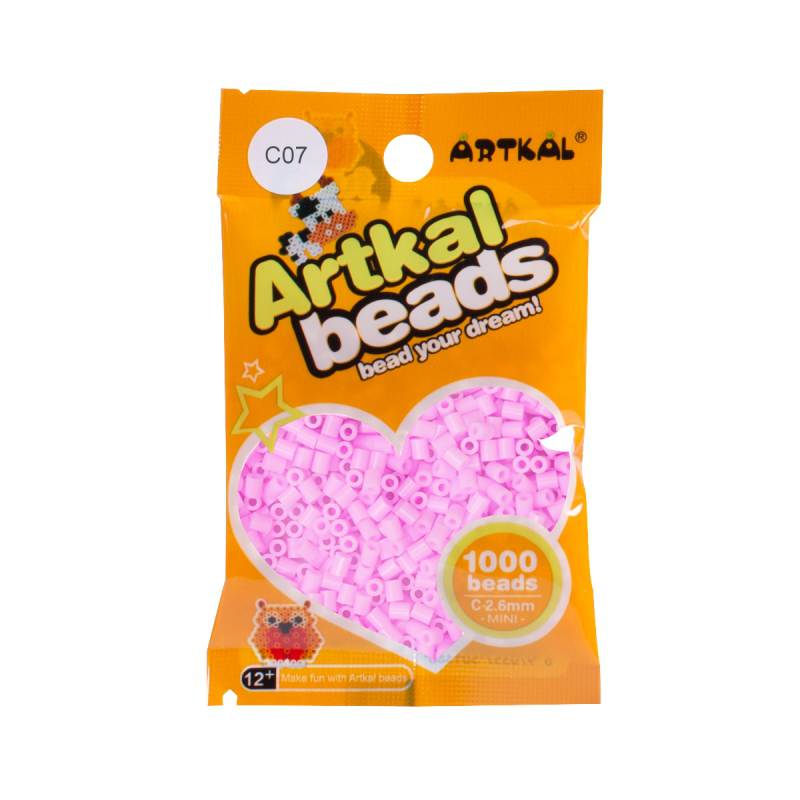
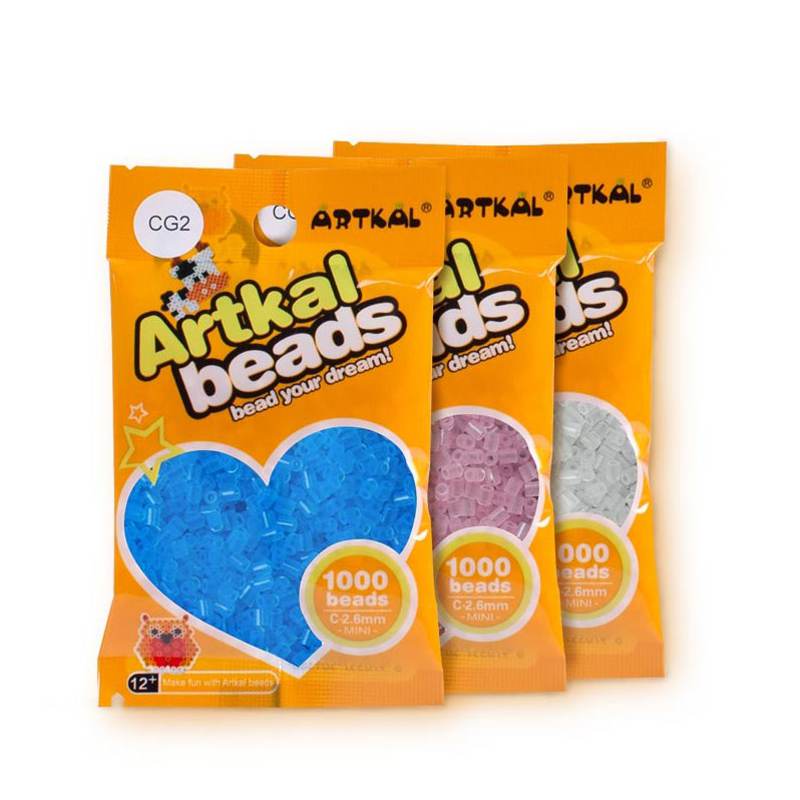
Perler beads (Artkal recommended for uniform quality and vibrant colors)
Pegboards for arranging beads according to your design
Ironing paper or parchment paper
Household iron with adjustable heat settings
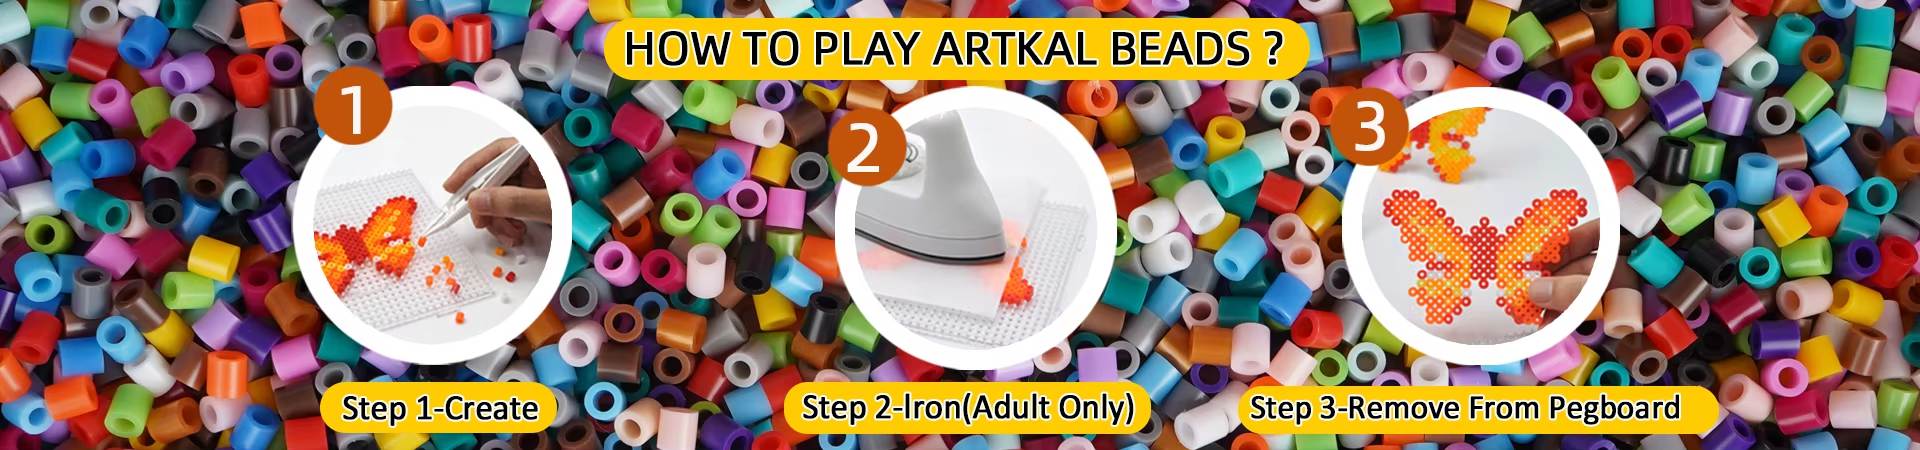
Step 1: Choose Your Pattern
Using perler beads patterns can help beginners and adults alike achieve precise designs. These patterns range from simple geometric shapes to complex pixel art.
Step 2: Arrange Beads Carefully
Place beads on the pegboard according to your chosen pattern. Ensure beads are upright and evenly spaced to avoid uneven melting.
2. Setting Up Your Iron
The key to perfect melting lies in the temperature and technique:
| Iron Temperature | Effect on Perler Beads | Recommended Use |
|---|---|---|
| Low Heat | Slow melting, beads may not fuse | Small, delicate designs |
| Medium Heat | Even melting, maintains bead shape | Most projects |
| High Heat | Quick melting, risk of warping | Only for large beads or professional use |
Preheat your iron for a few minutes.
Always use ironing paper between the iron and beads to prevent sticking and protect the iron.
3. Ironing Technique
Step 1: Cover the Beads
Place a sheet of ironing paper over your arranged beads. This ensures smooth melting without direct contact with the iron.
Step 2: Iron in Circular Motion
Move the iron in small, gentle circles.
Avoid pressing down too hard, which may flatten beads unevenly.
Check progress every 10–15 seconds to see if beads have fused properly.
Step 3: Flip and Repeat (Optional)
Once the first side is fused, carefully remove the design from the pegboard.
Place another sheet of ironing paper on the back and lightly iron to strengthen the bond.
4. Tips for Perfect Melting
Choose Quality Beads – Artkal beads are consistent in size and color, reducing uneven melting.
Consistent Heat – Avoid hot spots; move the iron evenly across the surface.
Cool Before Handling – Let your project cool under a flat surface to prevent warping.
Experiment with Patterns – Using perler beads patterns for adults allows more intricate designs and creative freedom.

5. Advanced Techniques for Adults
For those creating perler beads for adults, advanced techniques can elevate your designs:
Layering Beads: Stack beads for 3D effects and more depth.
Color Blending: Combine different shades for gradient effects.
Custom Shapes: Use small cutters to create unique designs before fusing.
Using high-quality beads from a reliable perler beads supplier like Artkal ensures your designs hold together beautifully, even in complex adult projects.
6. Common Mistakes to Avoid
| Mistake | Solution |
|---|---|
| Uneven melting | Move iron consistently and check frequently |
| Beads sticking to iron | Always use ironing paper |
| Warping of designs | Cool on a flat surface, avoid high heat |
| Overlapping beads | Arrange beads carefully on pegboard before ironing |
Melting Perler beads perfectly is a combination of preparation, technique, and quality materials. Whether following perler beads patterns, designing perler beads for adults, or purchasing from a trusted perler beads supplier, the steps outlined above ensure your creations are vibrant, sturdy, and professional-looking.
Artkal’s Perler beads provide consistent quality, allowing crafters of all ages to achieve the best results, whether for educational projects, decorative art, or creative DIY fun. Master these techniques, and your Perler bead projects will always impress!