
Creating a mosaic with beads is a delightful and intricate craft that blends color, pattern, and texture into stunning artworks. This form of art can be meditative and immensely satisfying, offering a unique way to express creativity. Here's a step-by-step guide on how to create your own bead mosaic, perfect for both beginners and more experienced crafters.
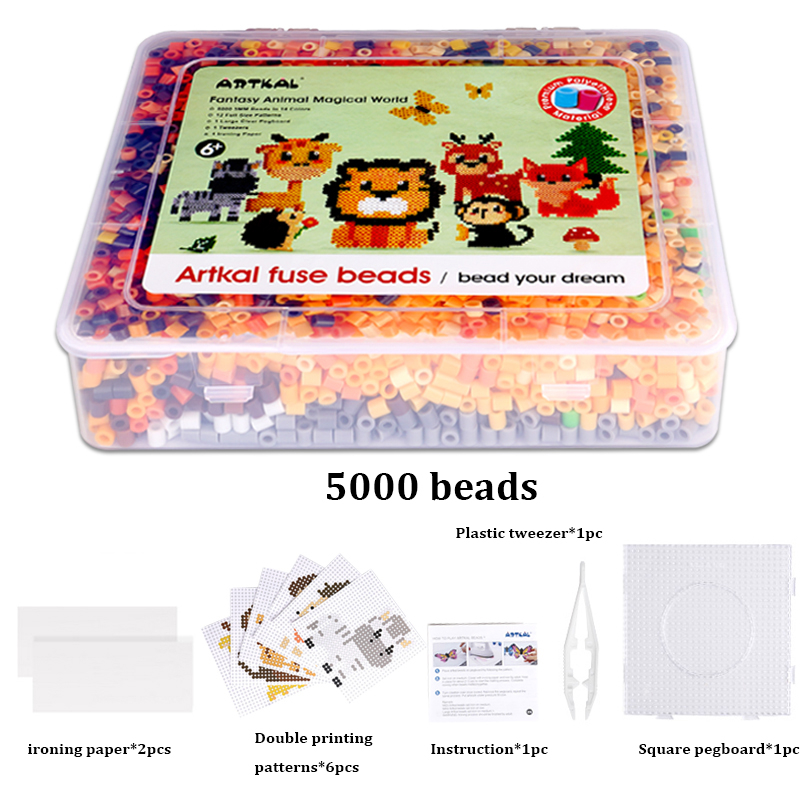
Materials Needed
● Beads: Choose beads in various colors and sizes according to your design. Glass beads, seed beads, or even Perler beads are great options.
● Base Material: A firm base such as wood, thick cardboard, or a canvas.
● Adhesive: A strong glue that dries clear is ideal. Mod Podge, E6000, or PVA glue can work well, depending on your base material.
● Design Template: A pre-drawn design or pattern.
● Tweezers: For placing small beads accurately.
● Sealant (optional): To protect the finished piece, especially if it will be touched or moved often.
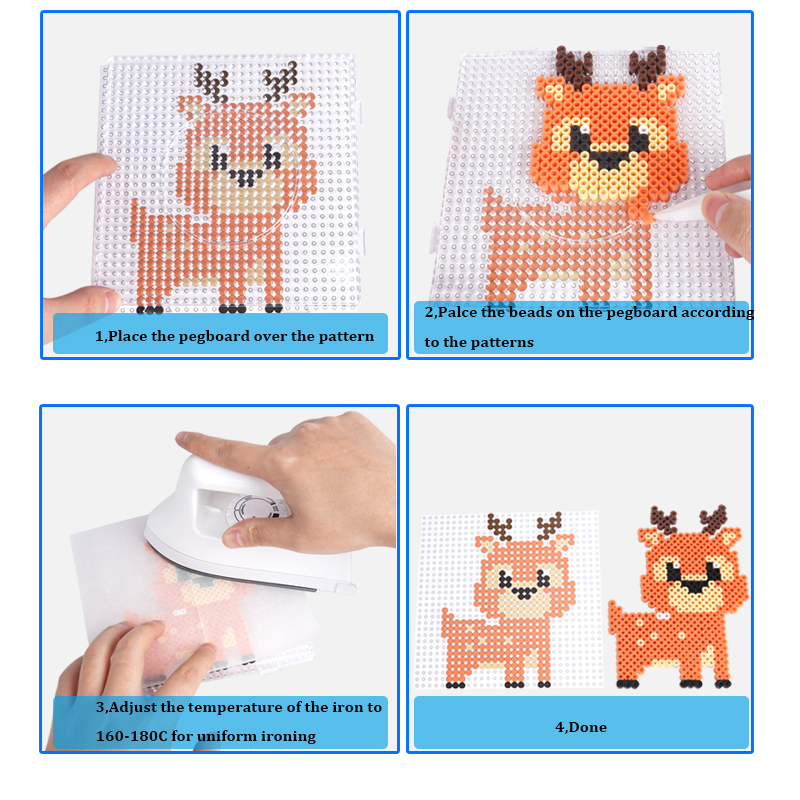
Step 1: Plan Your Design
Start by planning your mosaic design. You can sketch your design directly onto your base material with a pencil or use a piece of paper as a template. Consider the colors and sizes of the beads you have available when planning your design to ensure a cohesive look.
Step 2: Prepare Your Workspace
Organize your beads by color and size for easy access. Make sure your workspace is well-lit and comfortable, as creating a bead mosaic can be a time-intensive process.
Step 3: Apply Adhesive
Begin by applying a thin layer of glue to a small section of your base where you'll start your mosaic. It's best to work in small sections to prevent the glue from drying out before you can place the beads.
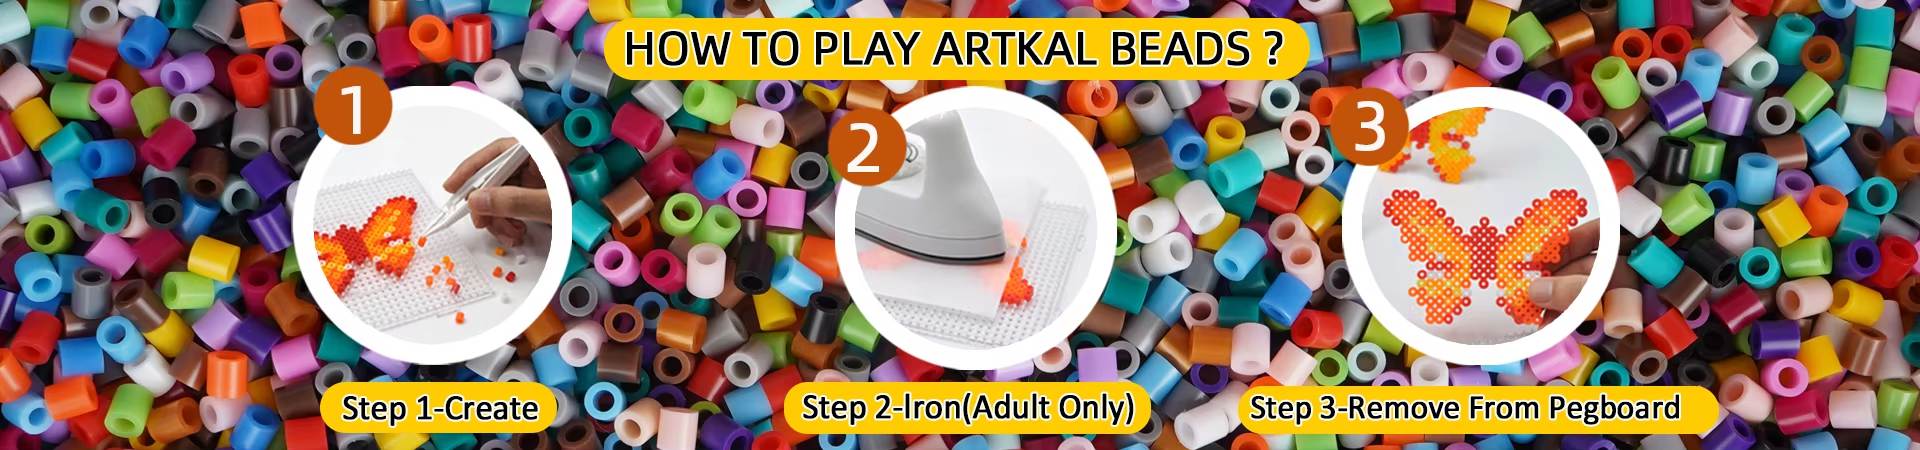
Step 4: Start Placing Beads
Use tweezers to pick up and place beads onto the glued area, following your design. You can place the beads close together or leave small gaps, depending on the look you're going for. Continue applying glue to new sections and adding beads until your design is complete.
Step 5: Make Adjustments
As you work, periodically step back to review your mosaic. This will allow you to make adjustments to the placement of beads as needed while the glue is still wet.
Step 6: Let It Dry
Once you've finished placing all the beads, allow your mosaic to dry completely according to the glue's drying time. This might take several hours to overnight, depending on the adhesive you used.
Step 7: Seal Your Mosaic (Optional)
For added protection, especially for pieces that will be handled frequently, apply a thin layer of sealant over your finished mosaic. Make sure the glue is completely dry before doing this to avoid smudging.
Step 8: Display Your Artwork
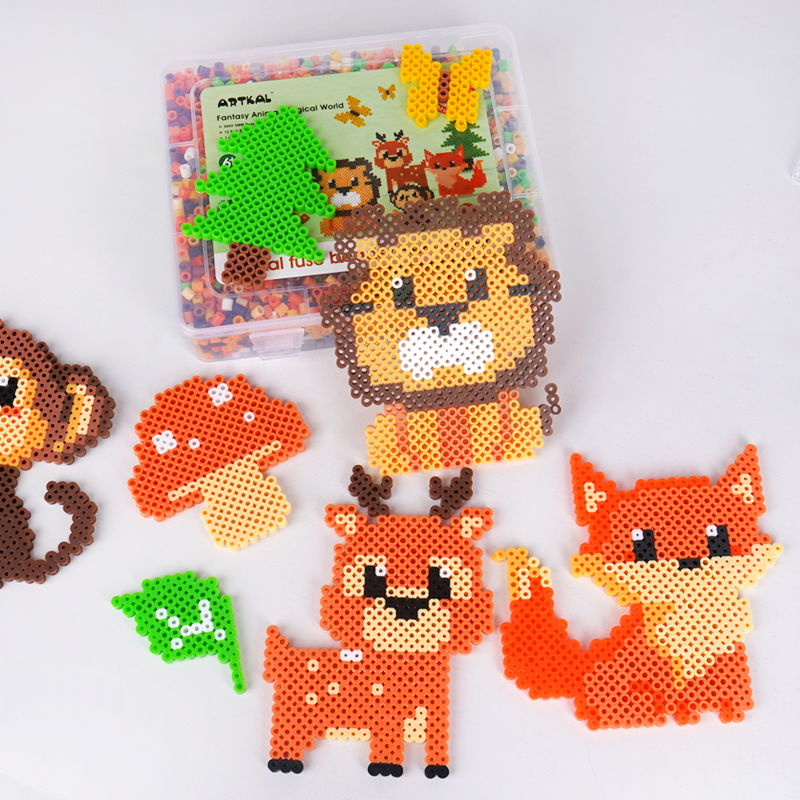
Once your bead mosaic is dry and sealed, it's ready to be displayed. You can frame it, mount it, or integrate it into other craft projects.
Tips for Success:
Patience is Key: Bead mosaics can be detailed and time-consuming. Take breaks as needed and enjoy the process.Use Contrast: Utilize contrasting colors to make your design pop and add depth to your mosaic.Experiment: Don't be afraid to experiment with different bead sizes and colors. Sometimes unexpected combinations create the most beautiful artworks.
Creating a mosaic with beads is a fulfilling project that can produce stunning results. Whether you're making wall art, a decorative item for your home, or a personalized gift, the possibilities are endless. Happy crafting!