
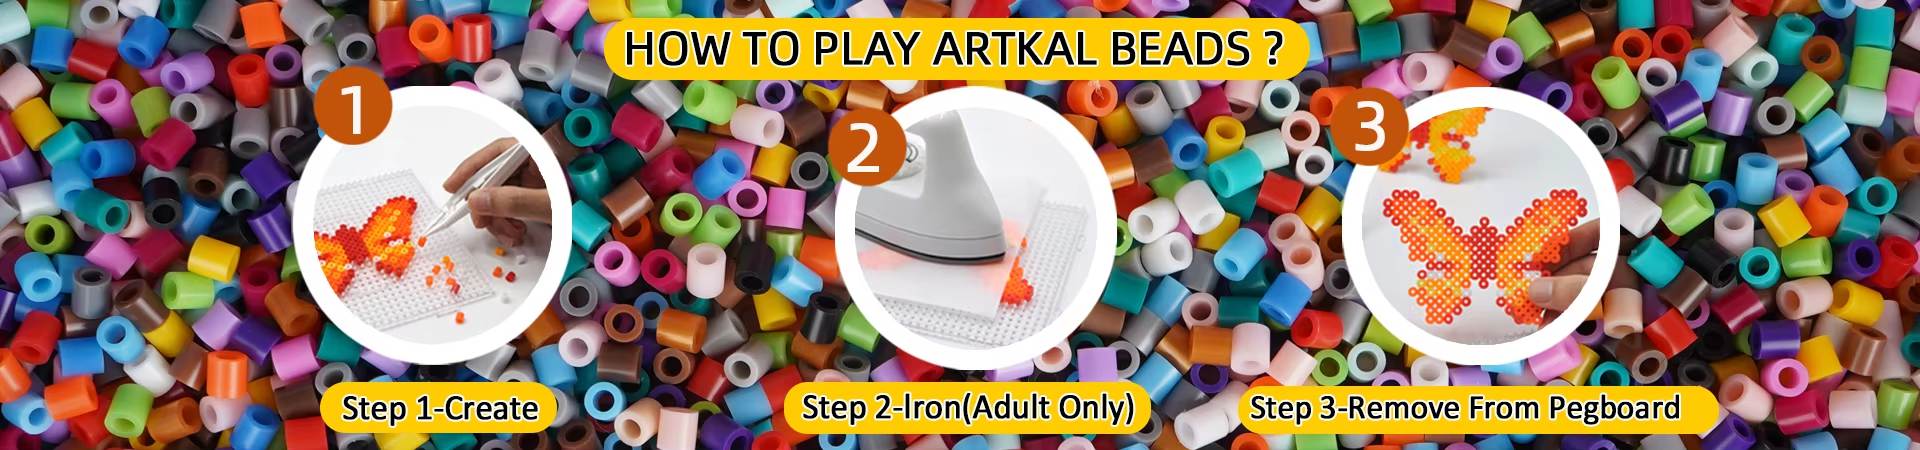
Steps and Techniques for Ironing Fuse Beads
So, you have created a beautiful design using fuse beads, and now it's time to bring it to life by ironing. Ironing fuse beads is an essential step to ensure that the beads fuse together properly and create a durable masterpiece. In this guide, we will walk you through the steps and techniques to help you achieve the best results.
1. Gather Your Materials
Before you begin ironing, make sure you have all the necessary materials at hand. You will need:
- Fuse beads
- Pegboard
- Ironing paper or parchment paper
- Iron
Having these materials ready will make the ironing process smoother and more efficient.
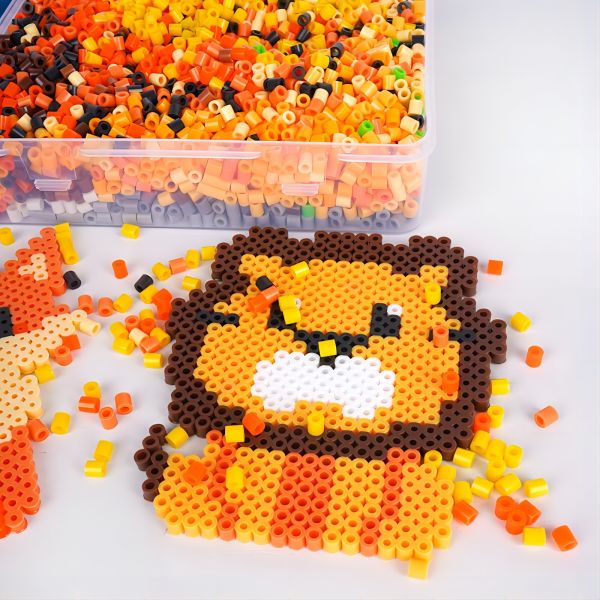
2. Arrange the Beads on the Pegboard
Once you have your design ready, place the fuse beads on the pegboard following the pattern. Ensure that each bead is aligned properly and fits snugly within the pegboard. This step is crucial for achieving a precise and accurate final result.
3. Preparing the Iron
Before you start ironing, you need to set your iron to the appropriate temperature. The ideal temperature for ironing fuse beads is medium to low heat. Be cautious not to apply excessive heat as it can melt the beads too quickly or cause them to lose their shape.
4. Ironing the Beads
Place a sheet of ironing paper or parchment paper over the beads on the pegboard. Gently run the iron over the paper in a circular motion. Apply even pressure to ensure that each bead fuses with the adjacent ones. Pay extra attention to the edges and corners of the design as they tend to require more heat for proper fusing.
Continue ironing until you see the beads slightly melting and fusing together. Avoid over-ironing, as it can flatten the design or cause the beads to lose their individual shapes.
5. Cooling and Removing the Design
Once you have finished ironing, allow the beads to cool completely before removing them from the pegboard. This cooling process ensures that the beads solidify and retain their shape. Carefully lift the design off the pegboard, turning it over if necessary.
6. Final Touches and Displaying
Inspect the fused beads to ensure that they have properly fused together. If you notice any loose beads, you can re-iron those areas using the same technique. Once you are satisfied with the result, your fused bead design is ready to be displayed or used in any way you desire.
Tips and Tricks for Ironing Fuse Beads
To enhance your ironing experience and achieve the best results, here are some additional tips:
- Use a thin cloth or Teflon sheet as a protective layer between the iron and the ironing paper for added safety and to prevent any potential damage to your iron.
- Experiment with different ironing times and pressures to find the perfect balance for your desired result.
- Avoid touching the iron directly to the beads as it can cause them to melt irregularly or stick to the iron.
- For intricate designs, consider ironing one section at a time to prevent unwanted bead movements.
By following these tips, you can further refine your ironing technique and create stunning fuse bead artwork.
In Conclusion
Ironing fuse beads is a crucial step in the process of creating durable and visually appealing designs. By gathering the necessary materials, following the proper steps, and using the right techniques, you can achieve fantastic results. Remember to always prioritize safety and leave the design to cool completely before handling. Enjoy the creative process and have fun with your fuse bead creations!